Monday, November 28, 2016

Half-Square Triangle Loveliness


I just finished stitching up this Half-Square Triangle quilt out of Cotton & Steel fat quarters for an upcoming class at The Old Country Store in Intercourse. 


 Ultimately it was inspired by my dear friend Phyllis, who has been diligently working her way through the projects in this lovely book by Shea Henderson.  I have been so inspired by her persistence in learning to sew, and it dawned on me that maybe some others would enjoy learning this simple technique in a classroom setting.  


Only recently have I realized that what I assume is common knowledge when it comes to sewing and quilting simply isn't common knowledge, and that there are lots of sewists out there who are eager to learn the tips and tricks it takes to make a simple, lovely quilt similar to this one.


 This is the final project in the book.
At 60x72", it's the perfect size - not too big to be overwhelming, but big enough to feel like an accomplishment.  


Students have the option of making a baby quilt or a throw like I did, and there are tons of layout options and fabric choices.  Such a cool concept, and such a great way to introduce beginners to my beloved world of quilting.  They get to make something they will love, unlike those uninspiring projects that were stitched in home economics classes of yesteryear.


When it came to the quilting, I simply quilted 1/4" from each seam line with my walking foot - as easy as it gets.


Sometimes simple is just better....  


These Cotton and Steel fabrics have so much personality - they don't need any fancy stitching to detract from their presence.  And, there's nothing more classic than a simple half-square triangle design.


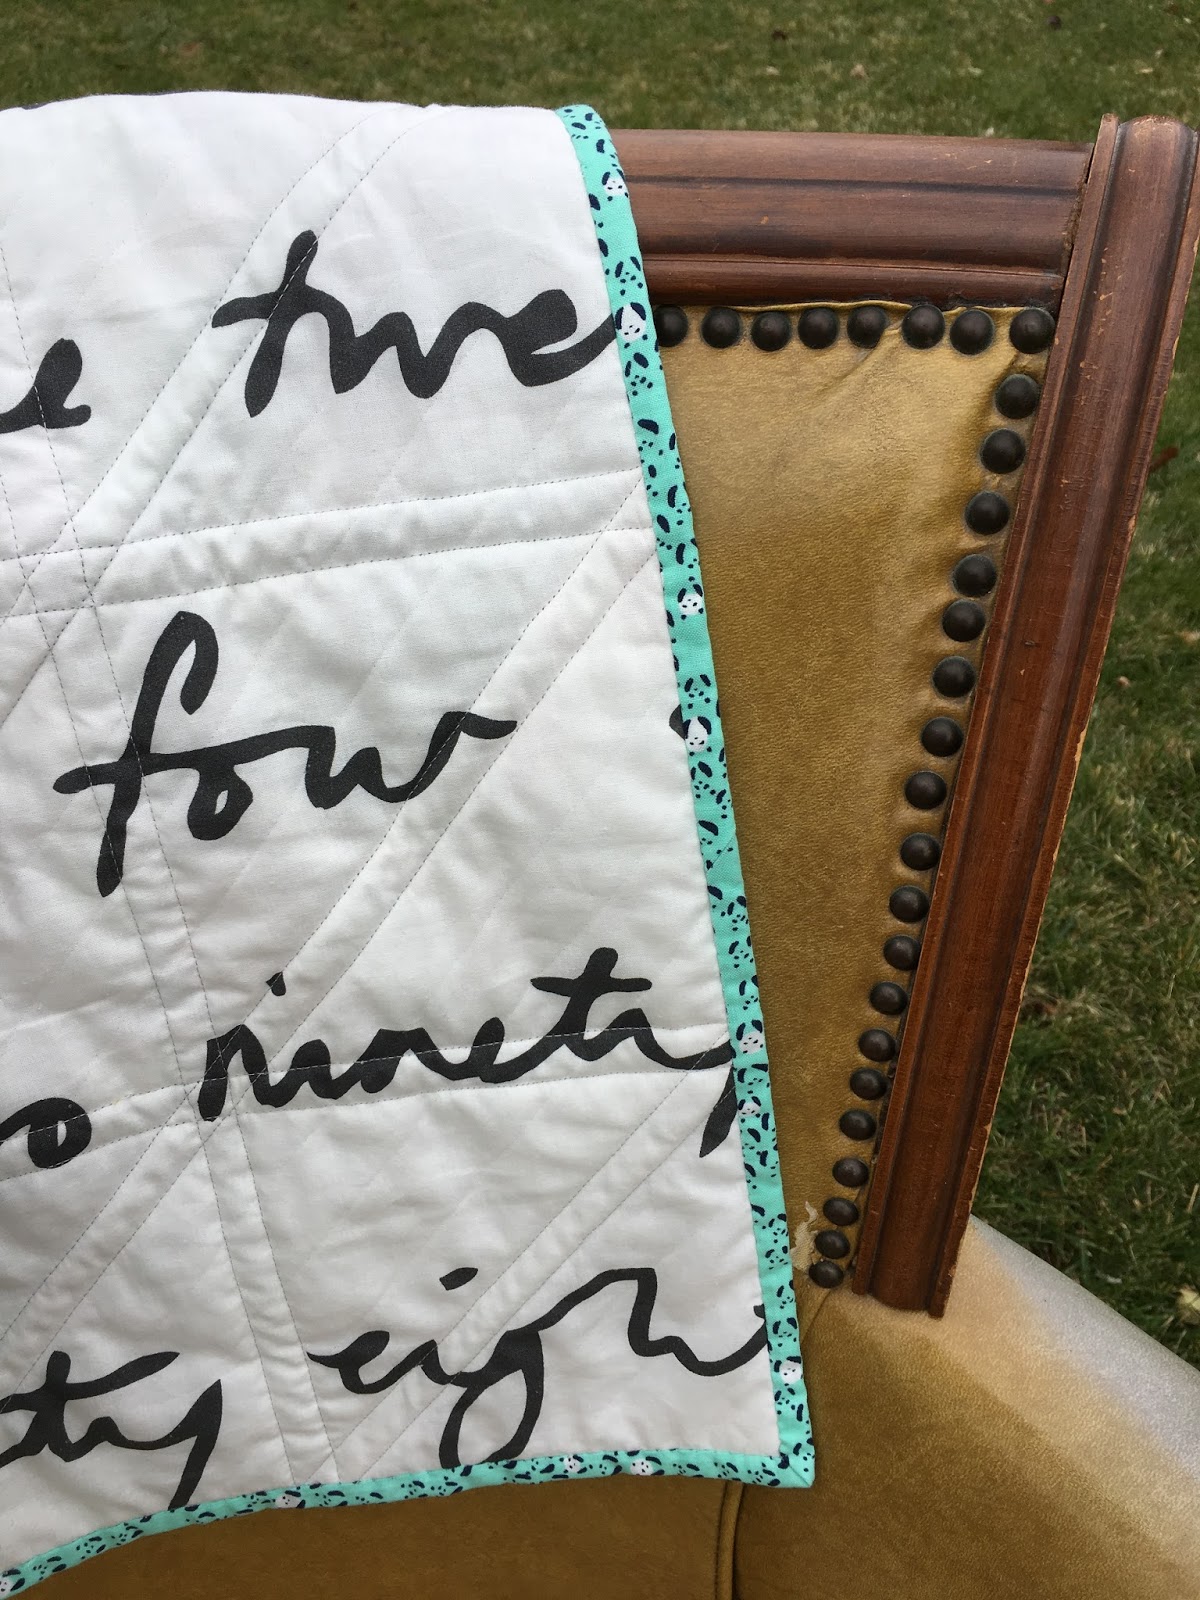
It was fun to finally get to use this IKEA backing fabric that I had purchased a few years ago - this is exactly what I had envisioned for it!


I'm grateful for the loveliness of the simple things in our lives....


Saturday, November 5, 2016

Labels at Last!


I should have tackled this a long time ago!!  


I've been wanted to get labels made for stitching into the quilts I stitch for customers (primarily t-shirt quilts), but I had been holding off, waiting until I came up with a business logo.  Well, that's been more than several years now, and I'm no further along on that process than I was when I started.  I'm just stumped on how to arrive at a logo!  But, that's another story....


Anyway, I was finishing up two T-shirt quilts for a customer, and finally it dawned on me that I didn't need to have a logo to at least print up a simple label with just the business name.  So, I followed this tutorial, and viola, a perfectly functional quilt label - exactly what I've been needing until I can figure out this business logo thing!


It was easy!

I simply created a Word document, ironed a sheet of 8-1/2 x 11" freezer paper onto some Kona cotton, and fed it through my ink jet printer.  After I cut the labels apart and folded them, I used Fray Check to seal the edges.  I was amazed at how well it worked!  Again, the tutorial walks you through the process step by step.


It's not the permanent solution I've been looking for, but at least it will do for now.  In fact, I went ahead and ordered a few labels with just my business name from this company (I figured they'll be more colorfast than my ink jet printer ink) for some other projects I have in the works!  :)


Sunday, September 18, 2016

Scrappy Trip Around the World - The First 25 Photo Shoot


I finished this Scrappy Trip Around the World last month, so I was really grateful for the chance to take pictures of it today at Fort Hunter Day!  My quilt guild sisters were so kind to hang this monstrosity (84x96") on the outside of the Centennial Barn.  It's such a beautiful quilt when viewed from a distance, so I was thankful it could be hung where it could be viewed and photographed in that way.


As I posted here, it's just the ugliest thing up close, and it was fairly painful to work on....


But, in this setting it is simply lovely to look at....  
:)


I free motion quilted Angela Walters' "chrysanthemum" design all over the quilt.  I can't say that I was happy with the results, but the busyness of the quilt hides a multitude of imperfections and the large size gave me a ample opportunity to practice.

You can find the link to Bonnie Hunter's Scrappy Trip Around the World tutorial here.


Sunday, September 4, 2016

Sunday Evening Photo Shoot at the Yellow Barn


I can't think of anything I'd rather do on a lovely summer Sunday evening than photograph my quilts....

So, this week it's the Yellow Barn!  I stumbled across this barn right in the town of Manheim the other week when I was at a friend's house.  I spotted it at that magical time of evening - the barn was literally glowing in the evening light.  I knew right away I wanted to snap some pictures of my quilts on it at some point.  Thankfully my friend knew the owner, as it is located right behind their garage, and she was kind enough to secure permission for me.  


I was running out of daylight, but had I more time, the other sides of this barn would have been ideal for photographing more quilts!  I had a stash in my car, but there just wasn't enough time.  (Note to self - don't wait until the lighting is right to jump in the car and drive to photo shoot location.  Next time, leave early and allow plenty of time!)


But, at least I had enough time to photograph a second quilt!


Here's a view of the back.


I'm getting to the point where I can hardly drive past any property without envisioning it as a quilt photo shoot location!