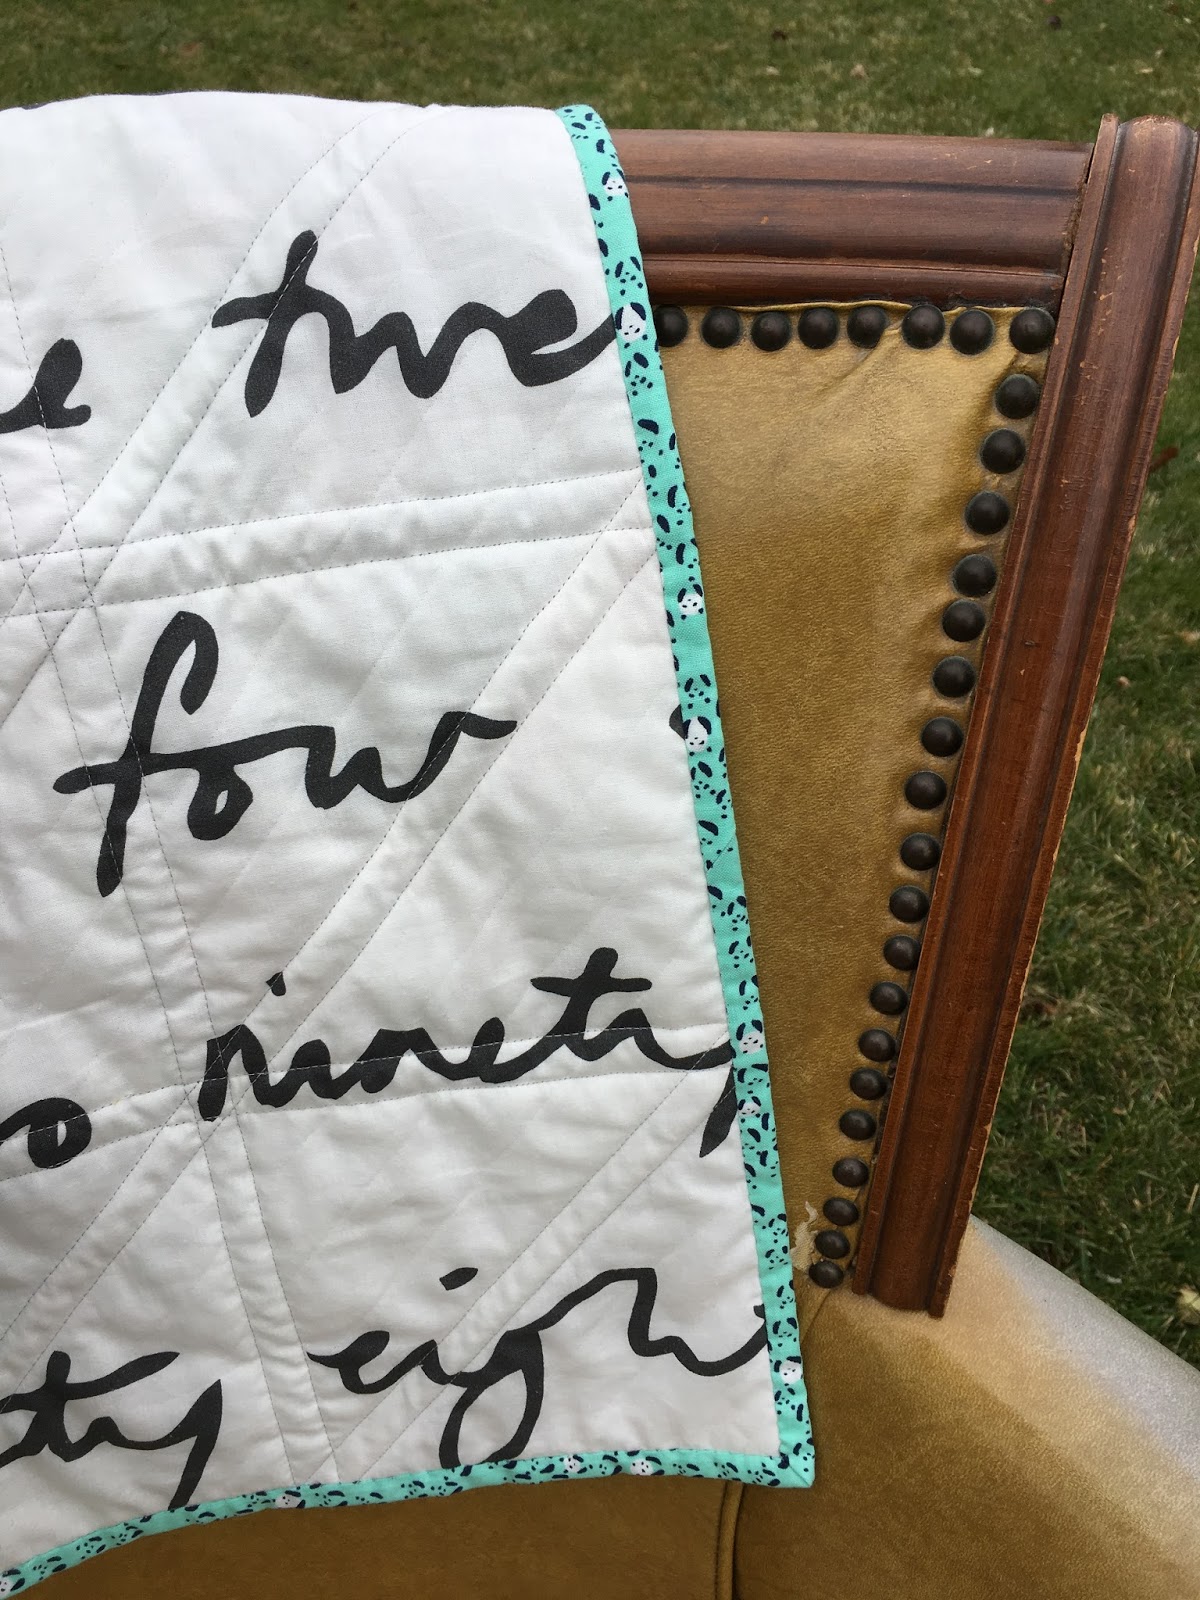
I just finished stitching up this Half-Square Triangle quilt out of Cotton & Steel fat quarters for an upcoming class at The Old Country Store in Intercourse.

Ultimately it was inspired by my dear friend Phyllis, who has been diligently working her way through the projects in this lovely book by Shea Henderson. I have been so inspired by her persistence in learning to sew, and it dawned on me that maybe some others would enjoy learning this simple technique in a classroom setting.

Only recently have I realized that what I assume is common knowledge when it comes to sewing and quilting simply isn't common knowledge, and that there are lots of sewists out there who are eager to learn the tips and tricks it takes to make a simple, lovely quilt similar to this one.

This is the final project in the book.
At 60x72", it's the perfect size - not too big to be overwhelming, but big enough to feel like an accomplishment.

Students have the option of making a baby quilt or a throw like I did, and there are tons of layout options and fabric choices. Such a cool concept, and such a great way to introduce beginners to my beloved world of quilting. They get to make something they will love, unlike those uninspiring projects that were stitched in home economics classes of yesteryear.

When it came to the quilting, I simply quilted 1/4" from each seam line with my walking foot - as easy as it gets.

Sometimes simple is just better....

These Cotton and Steel fabrics have so much personality - they don't need any fancy stitching to detract from their presence. And, there's nothing more classic than a simple half-square triangle design.

It was fun to finally get to use this IKEA backing fabric that I had purchased a few years ago - this is exactly what I had envisioned for it!

I'm grateful for the loveliness of the simple things in our lives....