Showing posts with label Zip Pouches. Show all posts

Friday, January 31, 2020

Vinyl Zip Pouches from Vintage Patterns


These zip pouches still give me the goosebumps....


When my siblings were cleaning out my parents' house this past summer,  they found a box containing my mother's wedding dress pattern, scraps of the bridal fabric, and even the receipt....

I knew my mother's wedding dress was long gone.  I can still remember the day when she threw it out....  It had been stored in the farmhouse attic, and at some point the roof had leaked.  When my mother discovered that her dress had been ruined, she simply threw it out....  That always haunted me!  She seemed OK with it (at least from what I had observed as a child), but I always wished that she had saved it so that we could have salvaged at least something from it.

So, imagine my surprise when my sister presented me with the newly-found box of scraps.  I was thrilled!  But, it wasn't until a few months later when I opened the box to sift through it again that I discovered the receipt!!  It's the coolest document ever to me; it lists my mother's maiden name,  the address of where she was living at the time, the yardage amounts for her dress and her two bridesmaids' dresses,  how much they paid for all the fabric, and the date.  It even documents that weddings weren't such a big deal back then - my mother bought all that fabric on August 10, made her dress, and was married by the end of September of that same year.  Done.


I love that the pattern lists her name in pencil and documents her tiny size.  
:)


I think she even looks a bit like the bride in the pattern!


I knew I wanted to do something with the pattern for my sisters and sister-in-law for Christmas, but what??  I was so grateful that the idea for these zip pouches came to me one day in class when I was chatting about it with some of my students.


  The pouch made out of the receipt is backed with some of the bridal fabric scraps.


We also came across one of my dad's shirt patterns, so it made the perfect zip pouch as well.


I love the "J. J. Newberry Co." stamp!!

It took me a little bit to figure out just how to I wanted to do them, but I am tickled with the results!


Here's how I went about it:
After ironing a piece of Kona cotton (color PFD) fabric onto a sheet of freezer paper, I fed the fabric through my ink jet printer and photocopied the images onto it.


Then, I ironed some fusible vinyl onto the fabric.  Just be sure to cover it with a press cloth before fusing.


I trimmed the zippers, added zipper tabs, and turned the photocopied fabric into a zip pouch using this method.
They are easy to make as long as you have an ink jet printer that will feed the fabric through easily.

I am so, so pleased with how these turned out!!

Now I can't stop thinking about what else I can turn into vinyl zip pouches....

Saturday, April 27, 2019

Zipper Tab Tutorial


This is my technique for neatly covering zipper ends with zipper tabs for zip pouches!  


I use this same technique for pillows too, especially if the pillow doesn't have binding or has more of a modern esthetic to it.  There are tons of tutorials already out there, but everyone's measurements and techniques are slightly different, so I decided it was time to document my own method, both for you and for me!


First of all, I always start with a zipper long enough that both metal stops extend beyond the body of the pouch.  It's so much easier!  This way you don't have to worry about accidentally hitting one of the metal stops with your machine needle, potentially breaking the needle or messing up the timing on your machine.  In fact, I keep a supply of 14" zippers on hand from an Etsy shop called Zipit (one in every color they carry!) so that I always have a zipper to choose from.  Occasionally I need a longer zipper, especially for pillows, but 14" is almost always long enough when it comes to zip pouches. Then, from time to time I simply order replacement zippers for the zippers I used up from my supply.


OK, here's how to go about it!
Slice off the metal bottom stop with a rotary cutter.  (I have a rotary cutter designated for paper and zipper cutting.)


Now trim down the other end of the zipper so that the length of the zipper tape is 3/4" shorter than the length of the unfinished pouch piece.


But, be sure to slide the zipper tab in before slicing so that it doesn't get cut off!


This is what your trimmed down zipper should look like.


To make the fabric-covered zipper tabs, cut a strip of fabric 1-1/2" x 4".
Press in half lengthwise.


Open fabric strip up, fold lengthwise edges into the center, and press again.


Fold and press one more time.


Cut pressed strip in half, yielding two tabs.


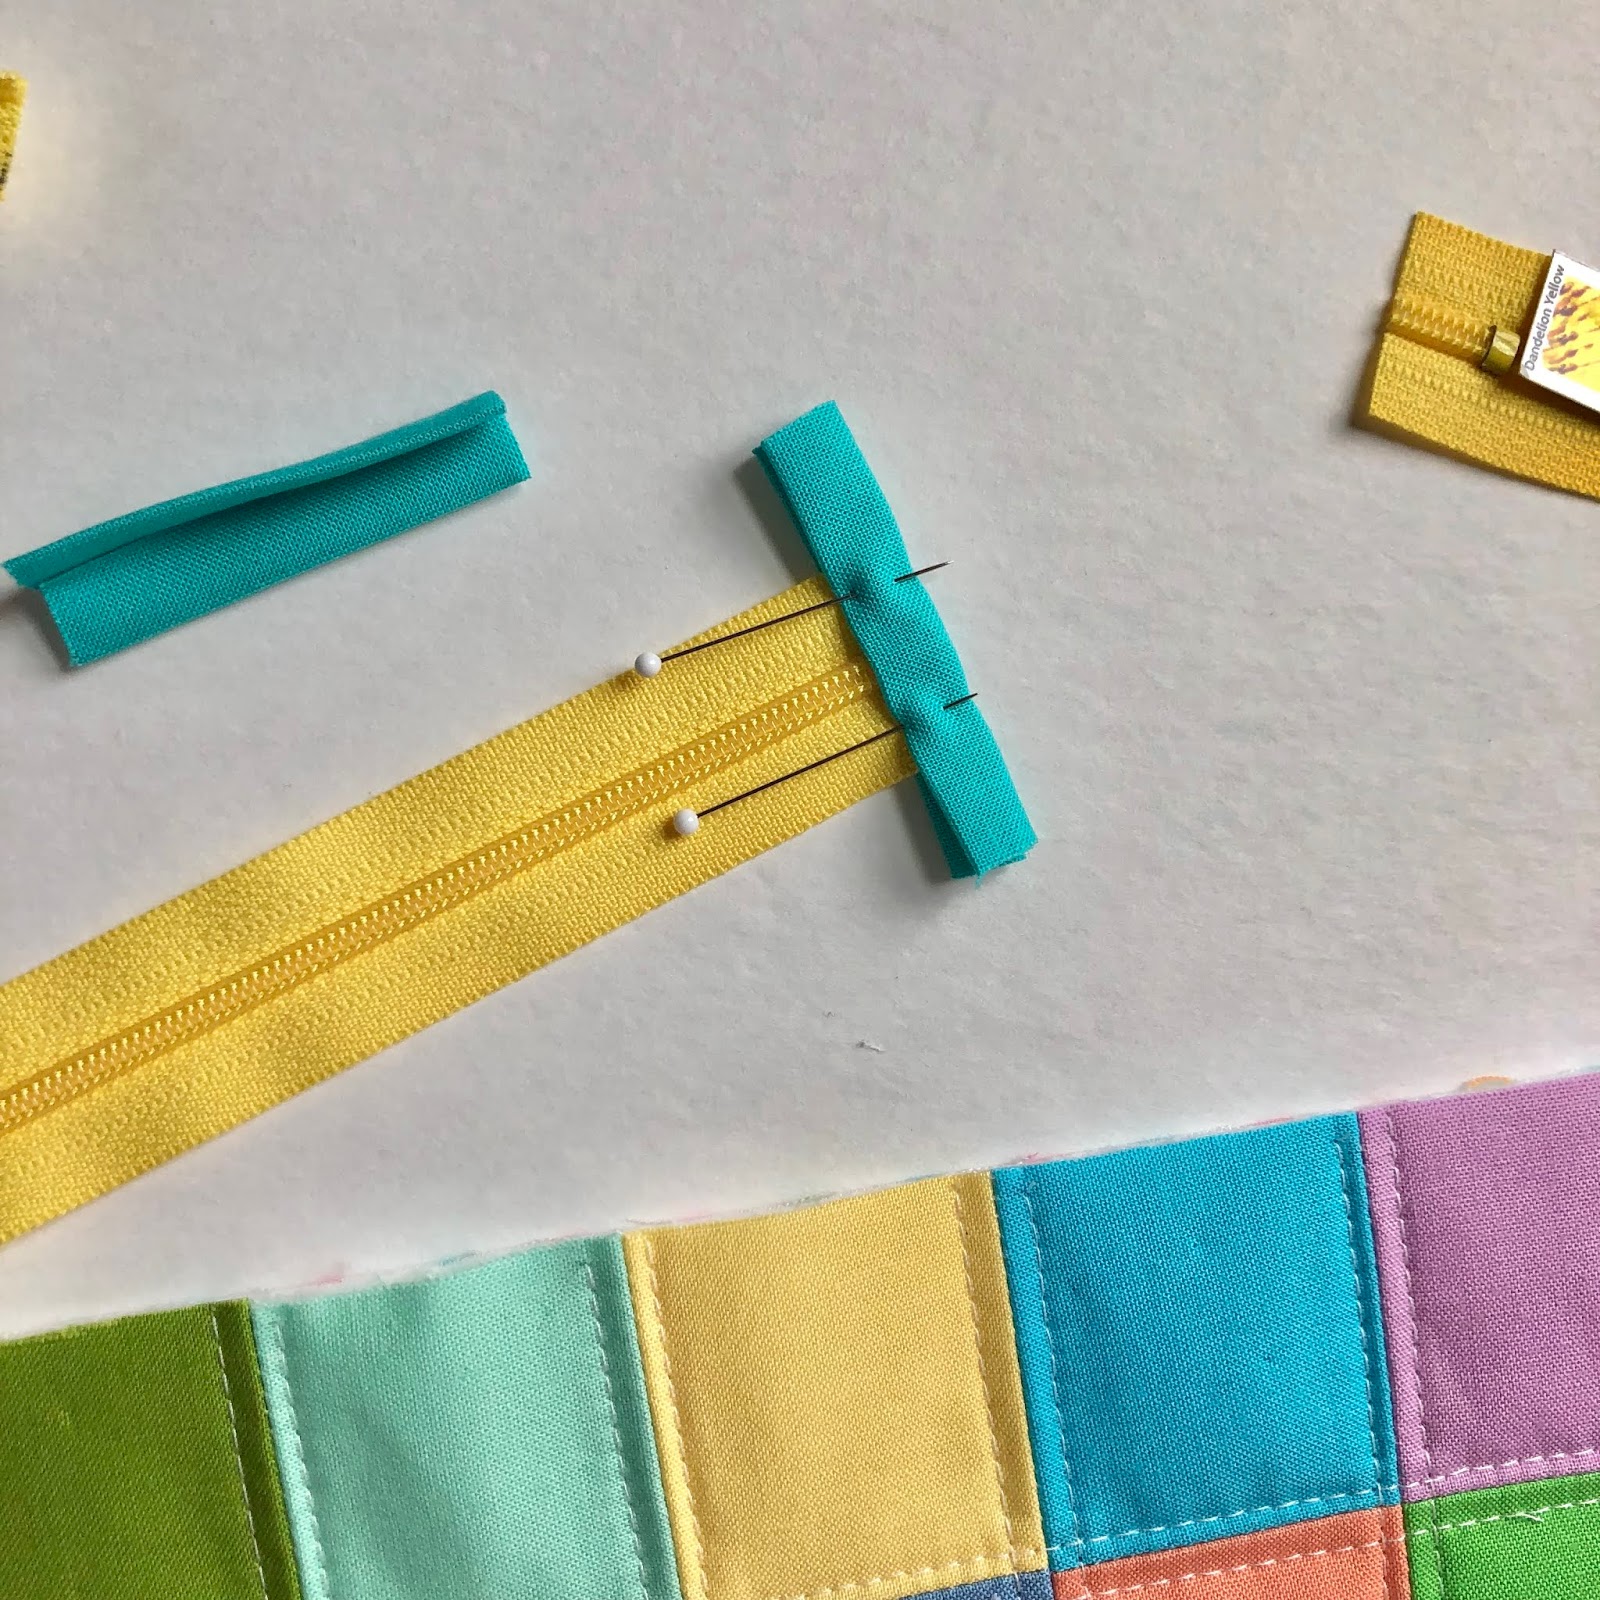
Slip zipper into the tab, making sure the end of the zipper is the whole way in and butted up against the folded edge.  Pin.


Repeat on other end of zipper.


Carefully topstitch through all layers.  Don't stitch too close to the edge of the fabric fold, or you will run the risk of not catching the under layers of the tab.


The extra length of the fabric makes it easier to stitch a tidy seam, especially those first few stitches.


Trim off excess fabric even with the edges of the zipper tape.


If you were careful about slipping your zipper the whole way into the tab, your covered zipper should still be 1/4 - 3/8" shorter than your unfinished pouch piece on both ends.


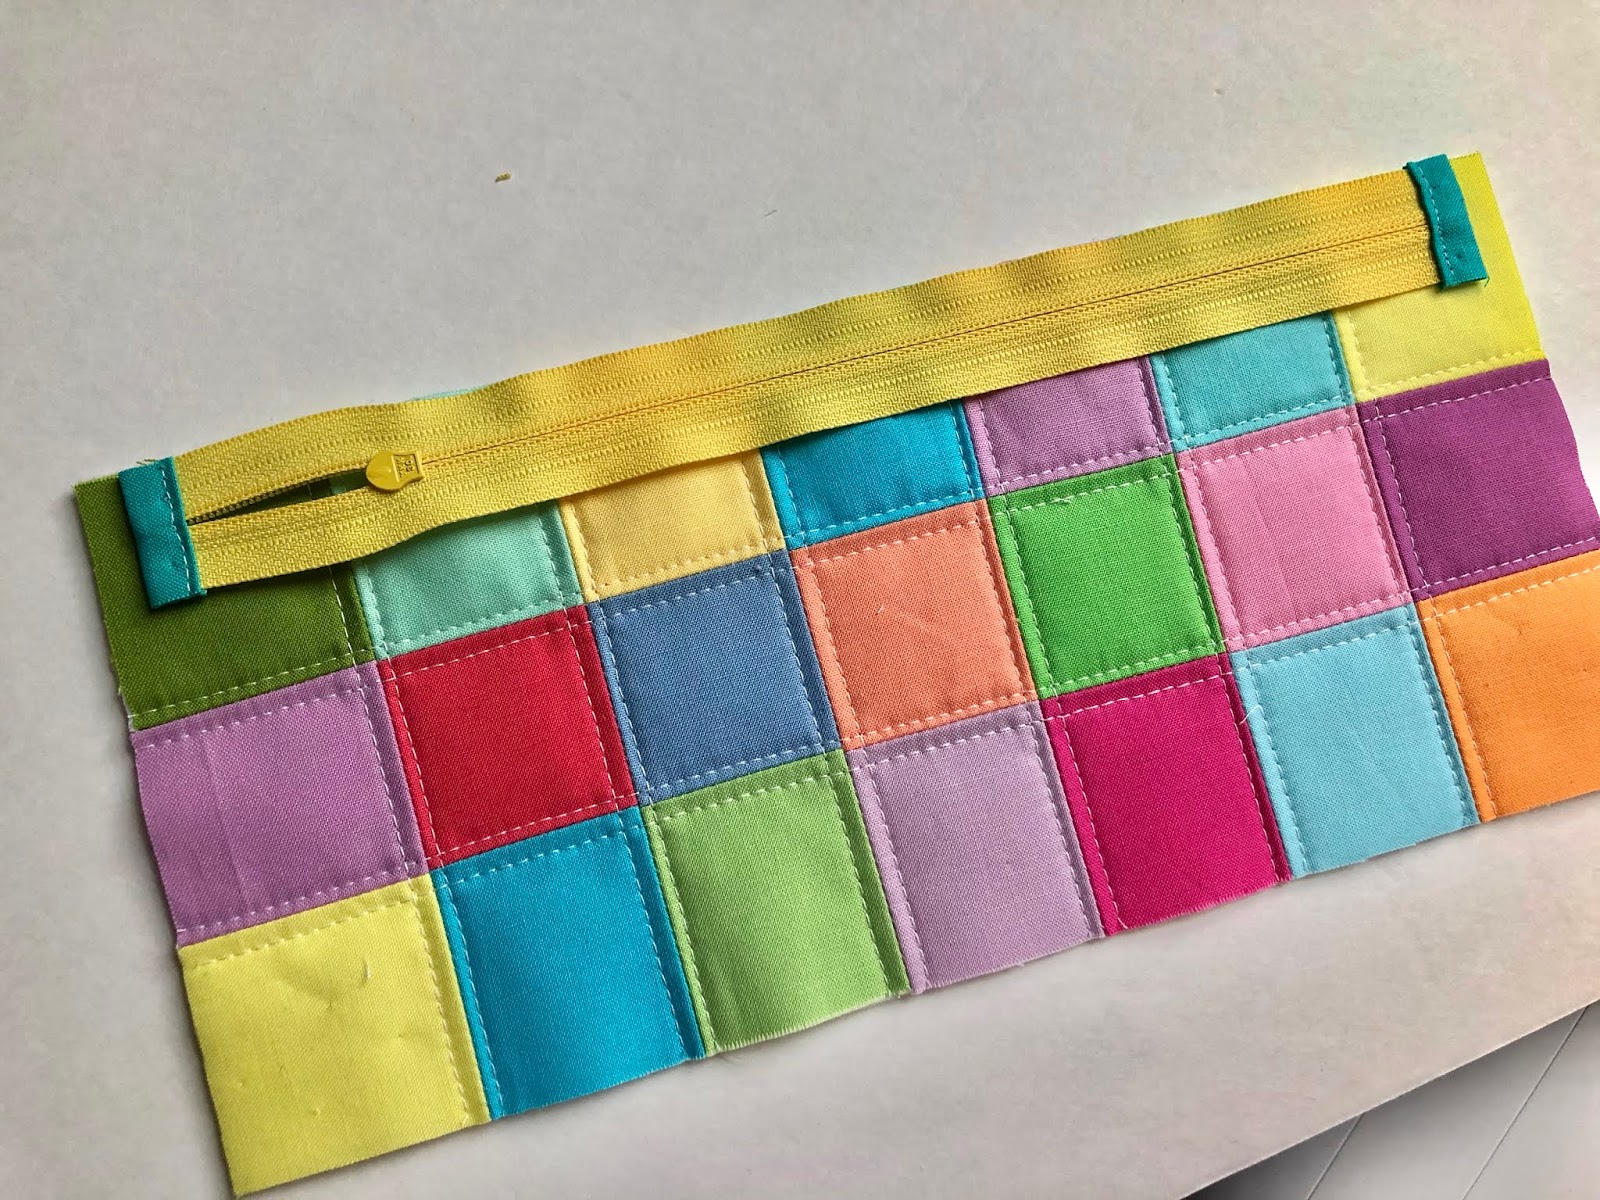
Now you can insert your zipper!  


You will need to use a zipper foot to install the zipper into the pouch.
If you are using a Bernina zipper foot, simply move your needle the whole way over and line the edge of the foot up against the edge of the zipper tape and stitch.
You can hand baste your zipper if you like, but careful pinning is usually sufficient.


Then, I overcast the raw edge, along with the zipper, with a zig zag stitch.  It makes for a nice finish when you peek into the pouch.


And last, 
 topstitch along the zipper from the outside.


To finish the pouch, open up the zipper (important - or you won't be able to turn your pouch right side out!), pin right sides together, stitch sides and bottom with a 1/4" seam, and overcast the edges with a zig zag stitch.  Then, turn pouch right side out and you're finished!


And that's it!
Don't forget to add a tag, of course!
:)

Saturday, December 24, 2016

Christmas Zip Pouches


I had fun stitching a variety of zip pouches out of for Christmas gifts this year.  Of course, I forgot to take pictures of all of them, but here are a few photos


I used Julia Rothman's Type Fabric.  I had purchased a fat quarter bundle from Westwood Acres a while ago, hoarded it for a time, then realized it was the perfect fabric for zip pouches of all kinds.  Luckily I was able to purchase some more here and there.


As always, it's fun to add one of my labels as the finishing touch.
:)

Thursday, December 22, 2016

Stash and Dash Foldover Organizer


I stitched up another Stash & Dash Organizer today!


I'm so grateful that Jan from The Old Country Store asked me to test this pattern/project to see if it would be appropriate for their staff Christmas party project.  I would never have attempted it otherwise!  I would have read the directions, saw that it called for Soft and Stable stabilizer (something I've never used before), and that would have been enough to cause me to pass over it.  But, Jan was kind enough to give me a finishing kit (zippers, mesh, strapping, vinyl, buckle, and Soft and Stable), so all I needed to do was select some fabrics from my stash and give it a try.  I'm hooked!  It was so fun to stitch, and so professional looking!  They make great gifts, too!


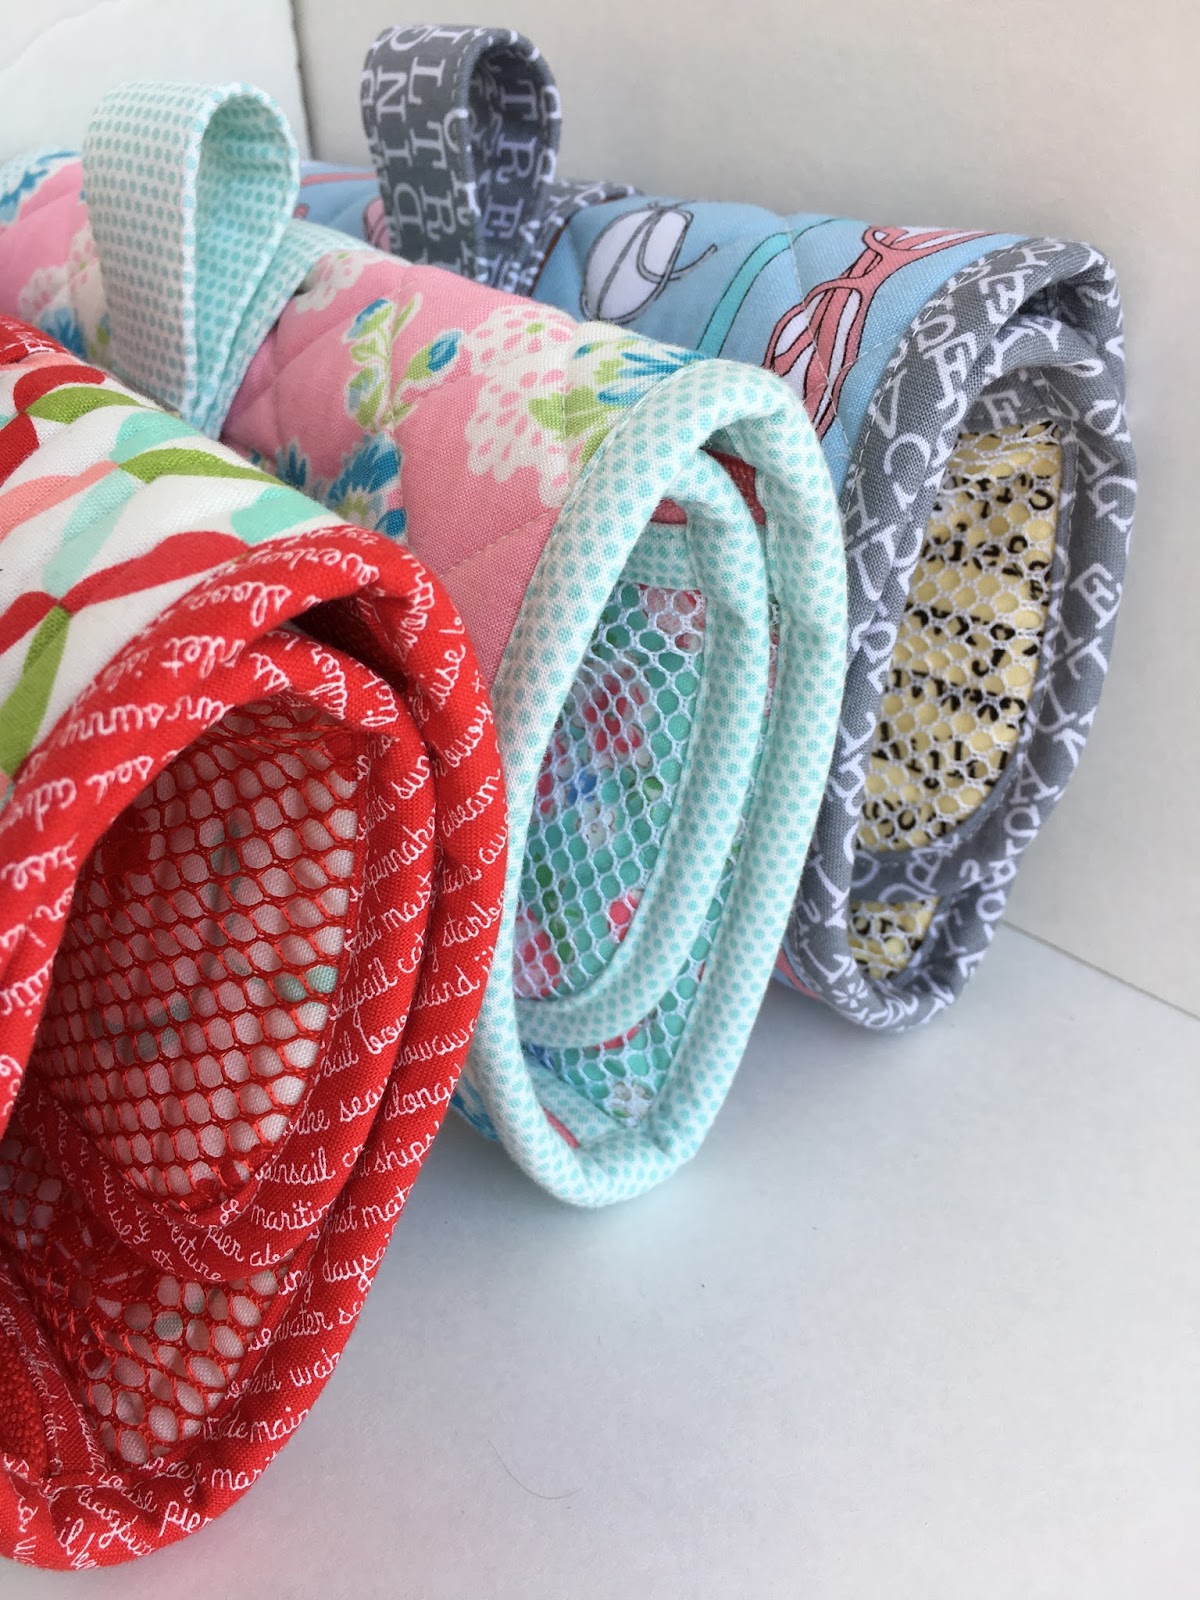
It's simply a foldover pouch with mesh pockets that zip close.


There's even a handy vinyl pocket on the back. 


You simply slip the strap through the buckle, and everything is neatly contained.


Soft and Stable stabilizer is kind of like a foam batting that gives it a firm, flexible structure.  Batting wouldn't do the trick.  Even though it's a bit pricey, it's exactly what's needed for this type of project.


I quilted straight lines on one, and did a cross hatch on the others.


It's so fun picking out different fabric combinations!


They were so much fun - I'm looking forward to teaching a class in February at The Old Country Store, and I can't wait to make some more for Christmas presents for next year!